Creating a Near Wallet is the first step to securely storing and managing your NEAR tokens. In this guide, we’ll walk you through setting up your Near Wallet, ensuring your assets are safe and easily accessible. Whether you’re new to the NEAR Protocol or a seasoned crypto enthusiast, this quick step-by-step tutorial will help you start confidently.
What is Near?
Before creating a Near Wallet, let’s first understand the NEAR token. The NEAR token is the native coin of the NEAR Protocol, a decentralized application platform designed to make blockchain technology more accessible and scalable. It plays a crucial role within the network, being used for transaction fees, staking to secure the network, and participating in governance decisions. NEAR’s focus on ease of use and developer-friendly tools makes it a key player in adopting decentralized applications (dApps) and Web3 technologies.
How to Create a Near Wallet?
Here are the step-by-step instructions on how to create your Near Wallet.
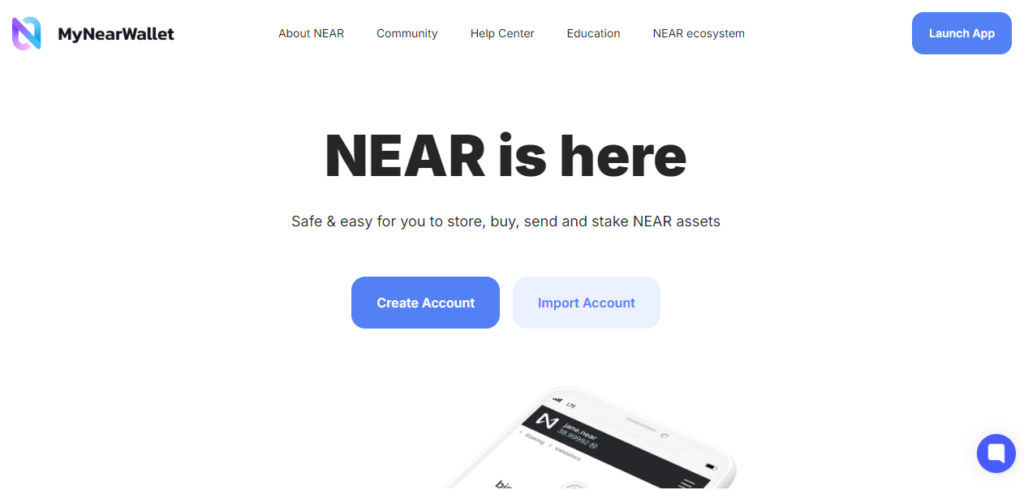
- Go to mynearwallet.com.
- Click “Create Account.”
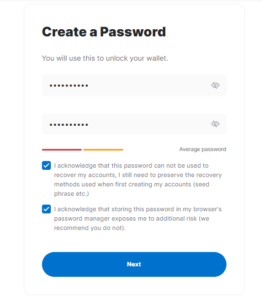
- Create a password, then click Next.
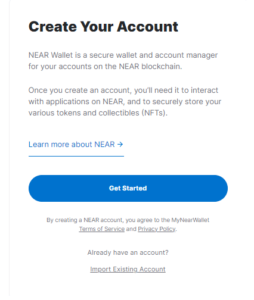
- Click “Get Started” to create your account.
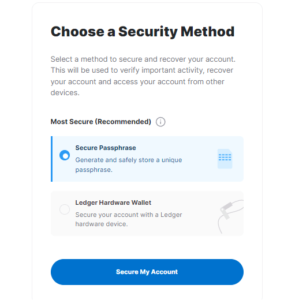
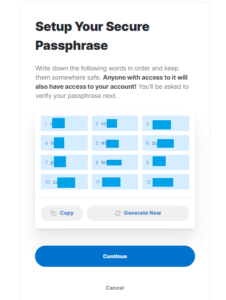
- Choose a security method. For this tutorial, we will select “Secure Passphrase.” Make sure to store your passphrase securely, as it can be used to recover your account.
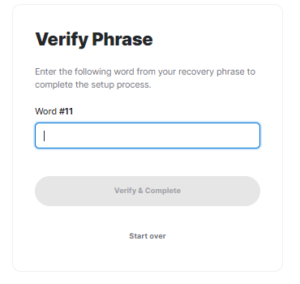
- Verify your passphrase.
You have now completed creating your Near Wallet.
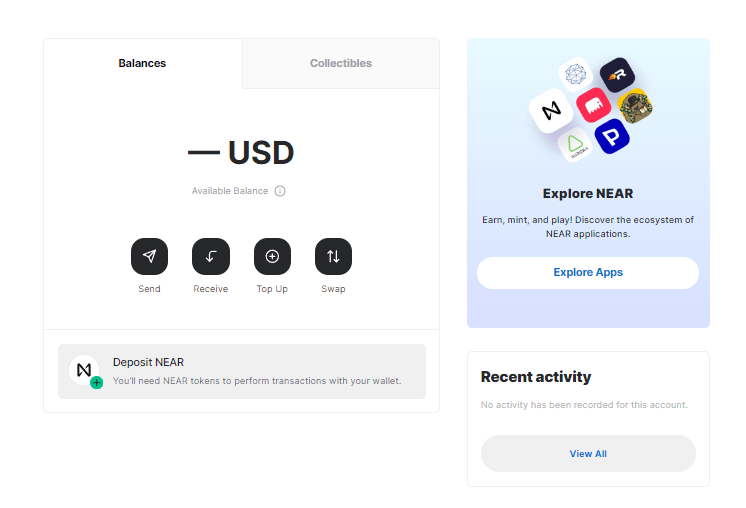
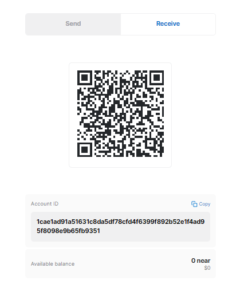
To get your Near Wallet address, click “Receive.”
Congratulations! Your Near Wallet is now set up and ready to use. If you have any questions or need further assistance, feel free to reach out. Enjoy managing your NEAR tokens securely!